3D Printing!
Slicer Settings
In order to print your own TrackStacker Tracks successfully, your 3D printer will need to be capable of printing dimensionally accurate PLA parts, with a build volume of 200mm x 200mm x 150mm or greater. TrackStacker labs uses the BambuLabs X1C + AMS Combo for all in house Track Production, however just about 3D Printer from the last 10 years can be setup for fabricating Tracks.
No matter what printer you decide to use, reliably achieving dimensional accuracy is critical for Track production. Even small inaccuracies in dimension can make the fitment of magnets and marbles frustrating, and lead to magnets not staying in their pockets and marbles jamming in their tracks.
Before you start production on your own set, make sure to also take the time to tune your other 3D printer settings including support settings, elephant’s foot compensation and the alignment of blobs from Z seams.
Getting your print settings absolutely dialed in before you begin production will mean having to do minimal post processing on every part you make, saving lots of time and effort that could be better spent playing!
It is recommended to print all parts for Track Stacker using PLA or any of its variants with the following settings for best finish quality and strength -
- Layer Height : 0.2mm
- Walls : 4
- Infill : 20% density, Tri-Hexagon pattern
- Supports : Standard
- Adhesion : Brims
Multi Color Printing
If you have a machine capable of multi material printing, you can set up your slicer to print the name and length codes in a second highlight color, adding both functionality and flair. All of the .STL files provided are multi body with the bottom layer text separated out to ease multi material printing.
If you want the absolute best results for your bottom layer text, you will want to make sure you meticulously carry out each of the following steps -
- A Textured PEI build plate is recommended for dual color bottom text
- Make sure the build plate is absolutely clean and free of any grease or residue. If needed, wash the build plate in hot water using dish soap or any mild detergent. Then wipe dry thoroughly before use
- Set the first layer of your print to run slow (20-30 mm/s) in your slicer
- Watch the first layer go down to catch any issues before they get buried under the rest of the print
You can also change filament midway though a print to create multi color Tracks, which add even more personality and flair to your Set! You can do this at any point in the print but if you do it after the bottom layers of the marble track have already been printed, then you can see the center of the Track in a highlight color like in the image below -
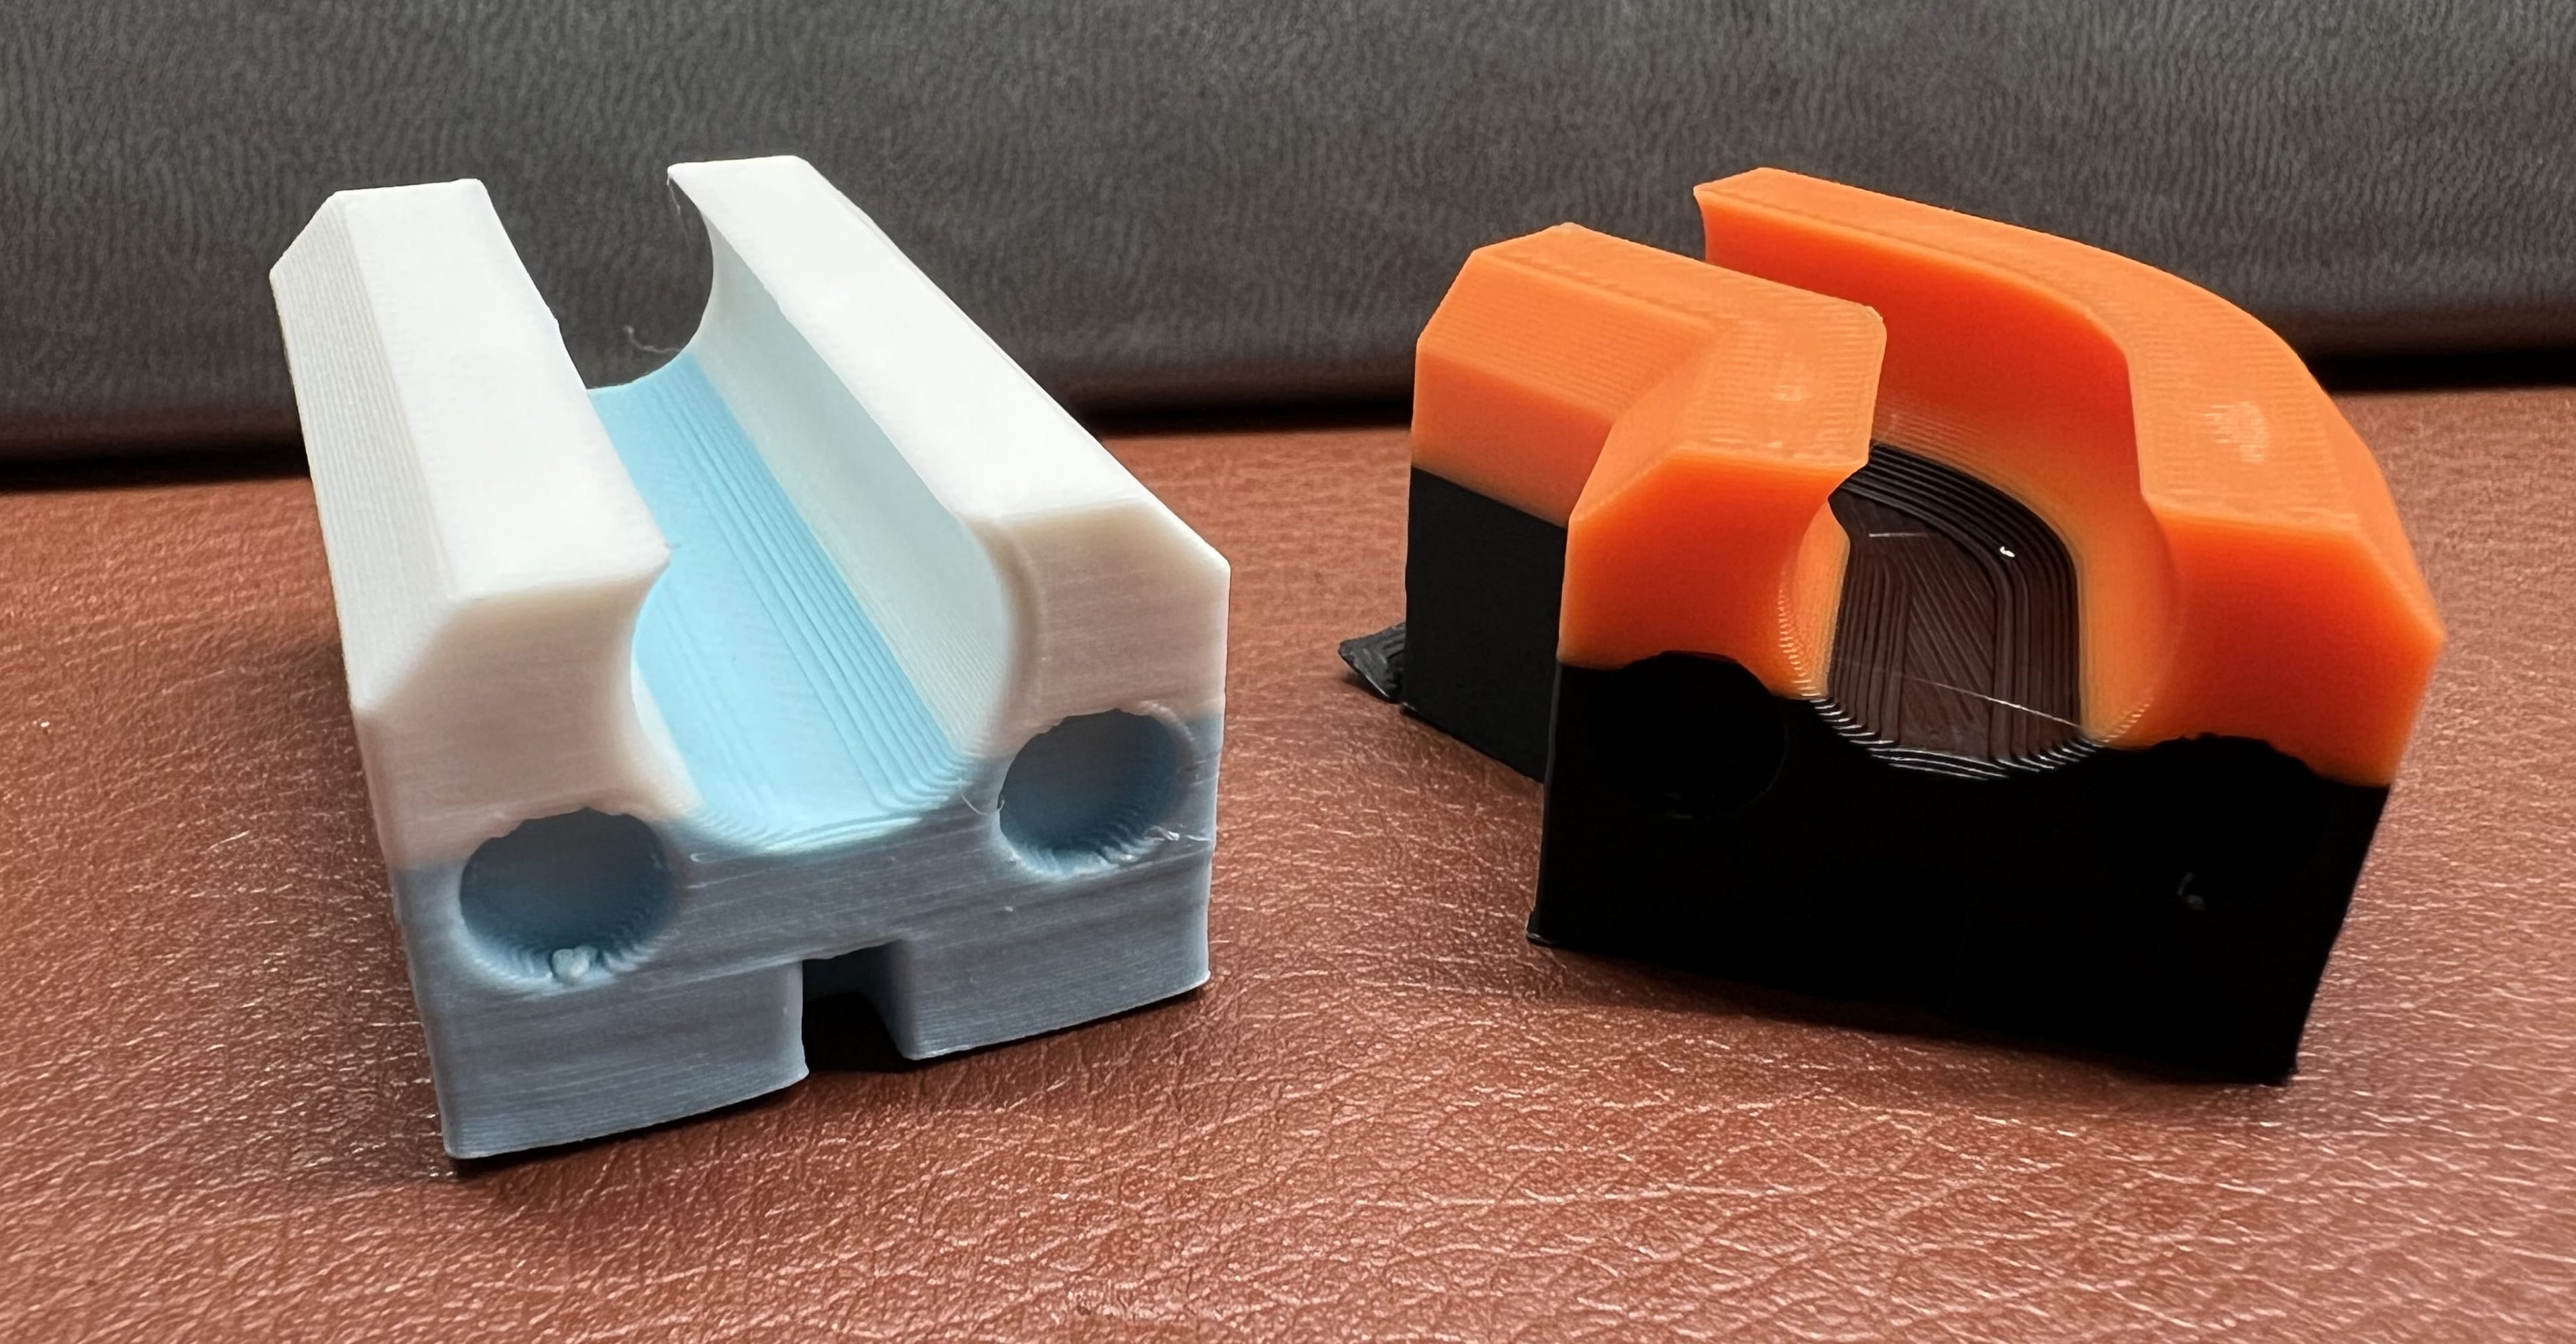
Multi color Tracks - user submitted by qn
Print Post Processing
After you have finished 3D printing your parts, it is now time for post processing your prints and getting them ready for magnetization! It is recommended to post process large batches of parts at the same time.
The first step will be the removal of supports (if you used them) We recommend a small flat head screwdriver for prying supports off from the magnet pockets, keyway slots and any other features that may have required support. With good support settings, this should be very easy to do, all the supported features being shallow pockets with ease of access for removal.
After all supports have been removed, conduct a thorough visual inspection of the part making sure there are no stray blobs, strings, wisps or other artifacts that may affect the quality and reliability of the finished Track. Use your fingers or a small file and flush cutters to trim away any artifacts.
If there is any elephants foot on the part, use a small flat file to file away the elephants foot, especially on the mating surfaces between Tracks. Failure to do this will result in Tracks becoming poorly aligned at connections causing marble jams.
Take the time to make sure each part meets all the above criteria for accuracy and finish to ensure the most enjoyable playtime Stacking experience!
Common Print Defects
There are some common 3D printing artifacts or defects that can arise from issues with your printing setup. The most common ones that can affect TrackStacker are described below. If you are seeing any of these issues in your prints, starting points to resolve each issue are provided below!
-
Warping
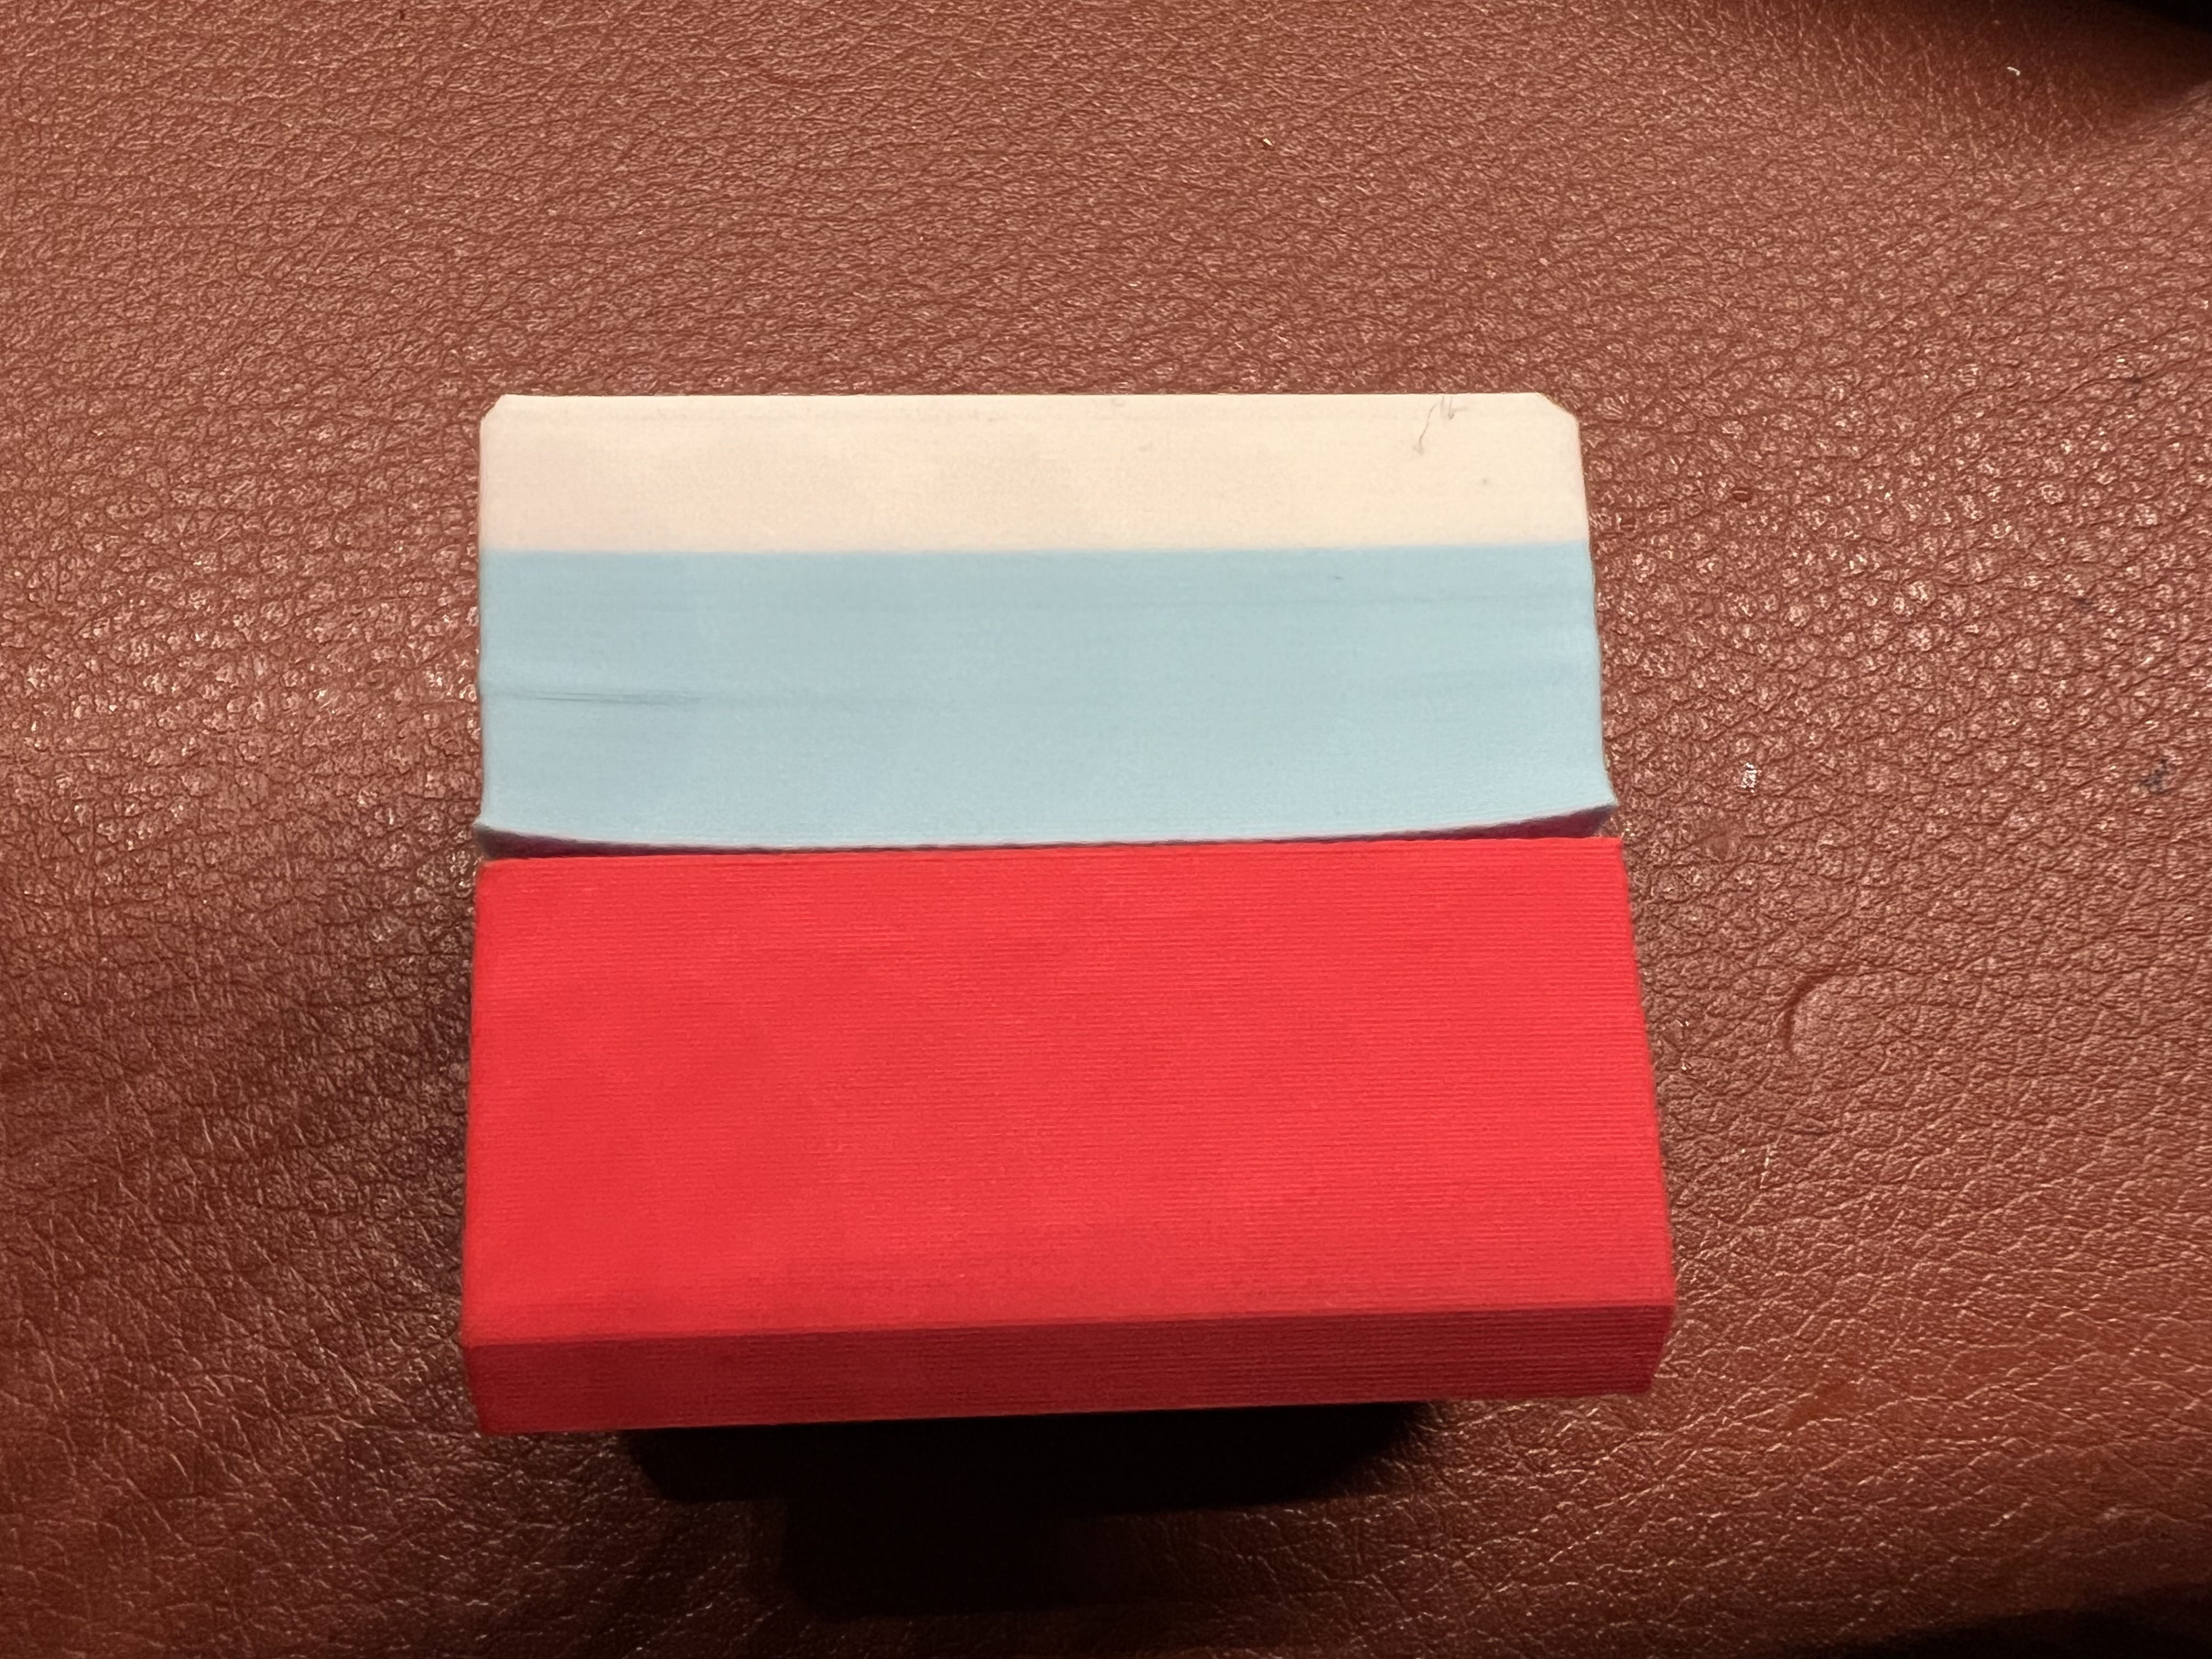
Warping seen in blue and white Track. Red Track shows no visible warp (user submitted by qn)
-
Stringing
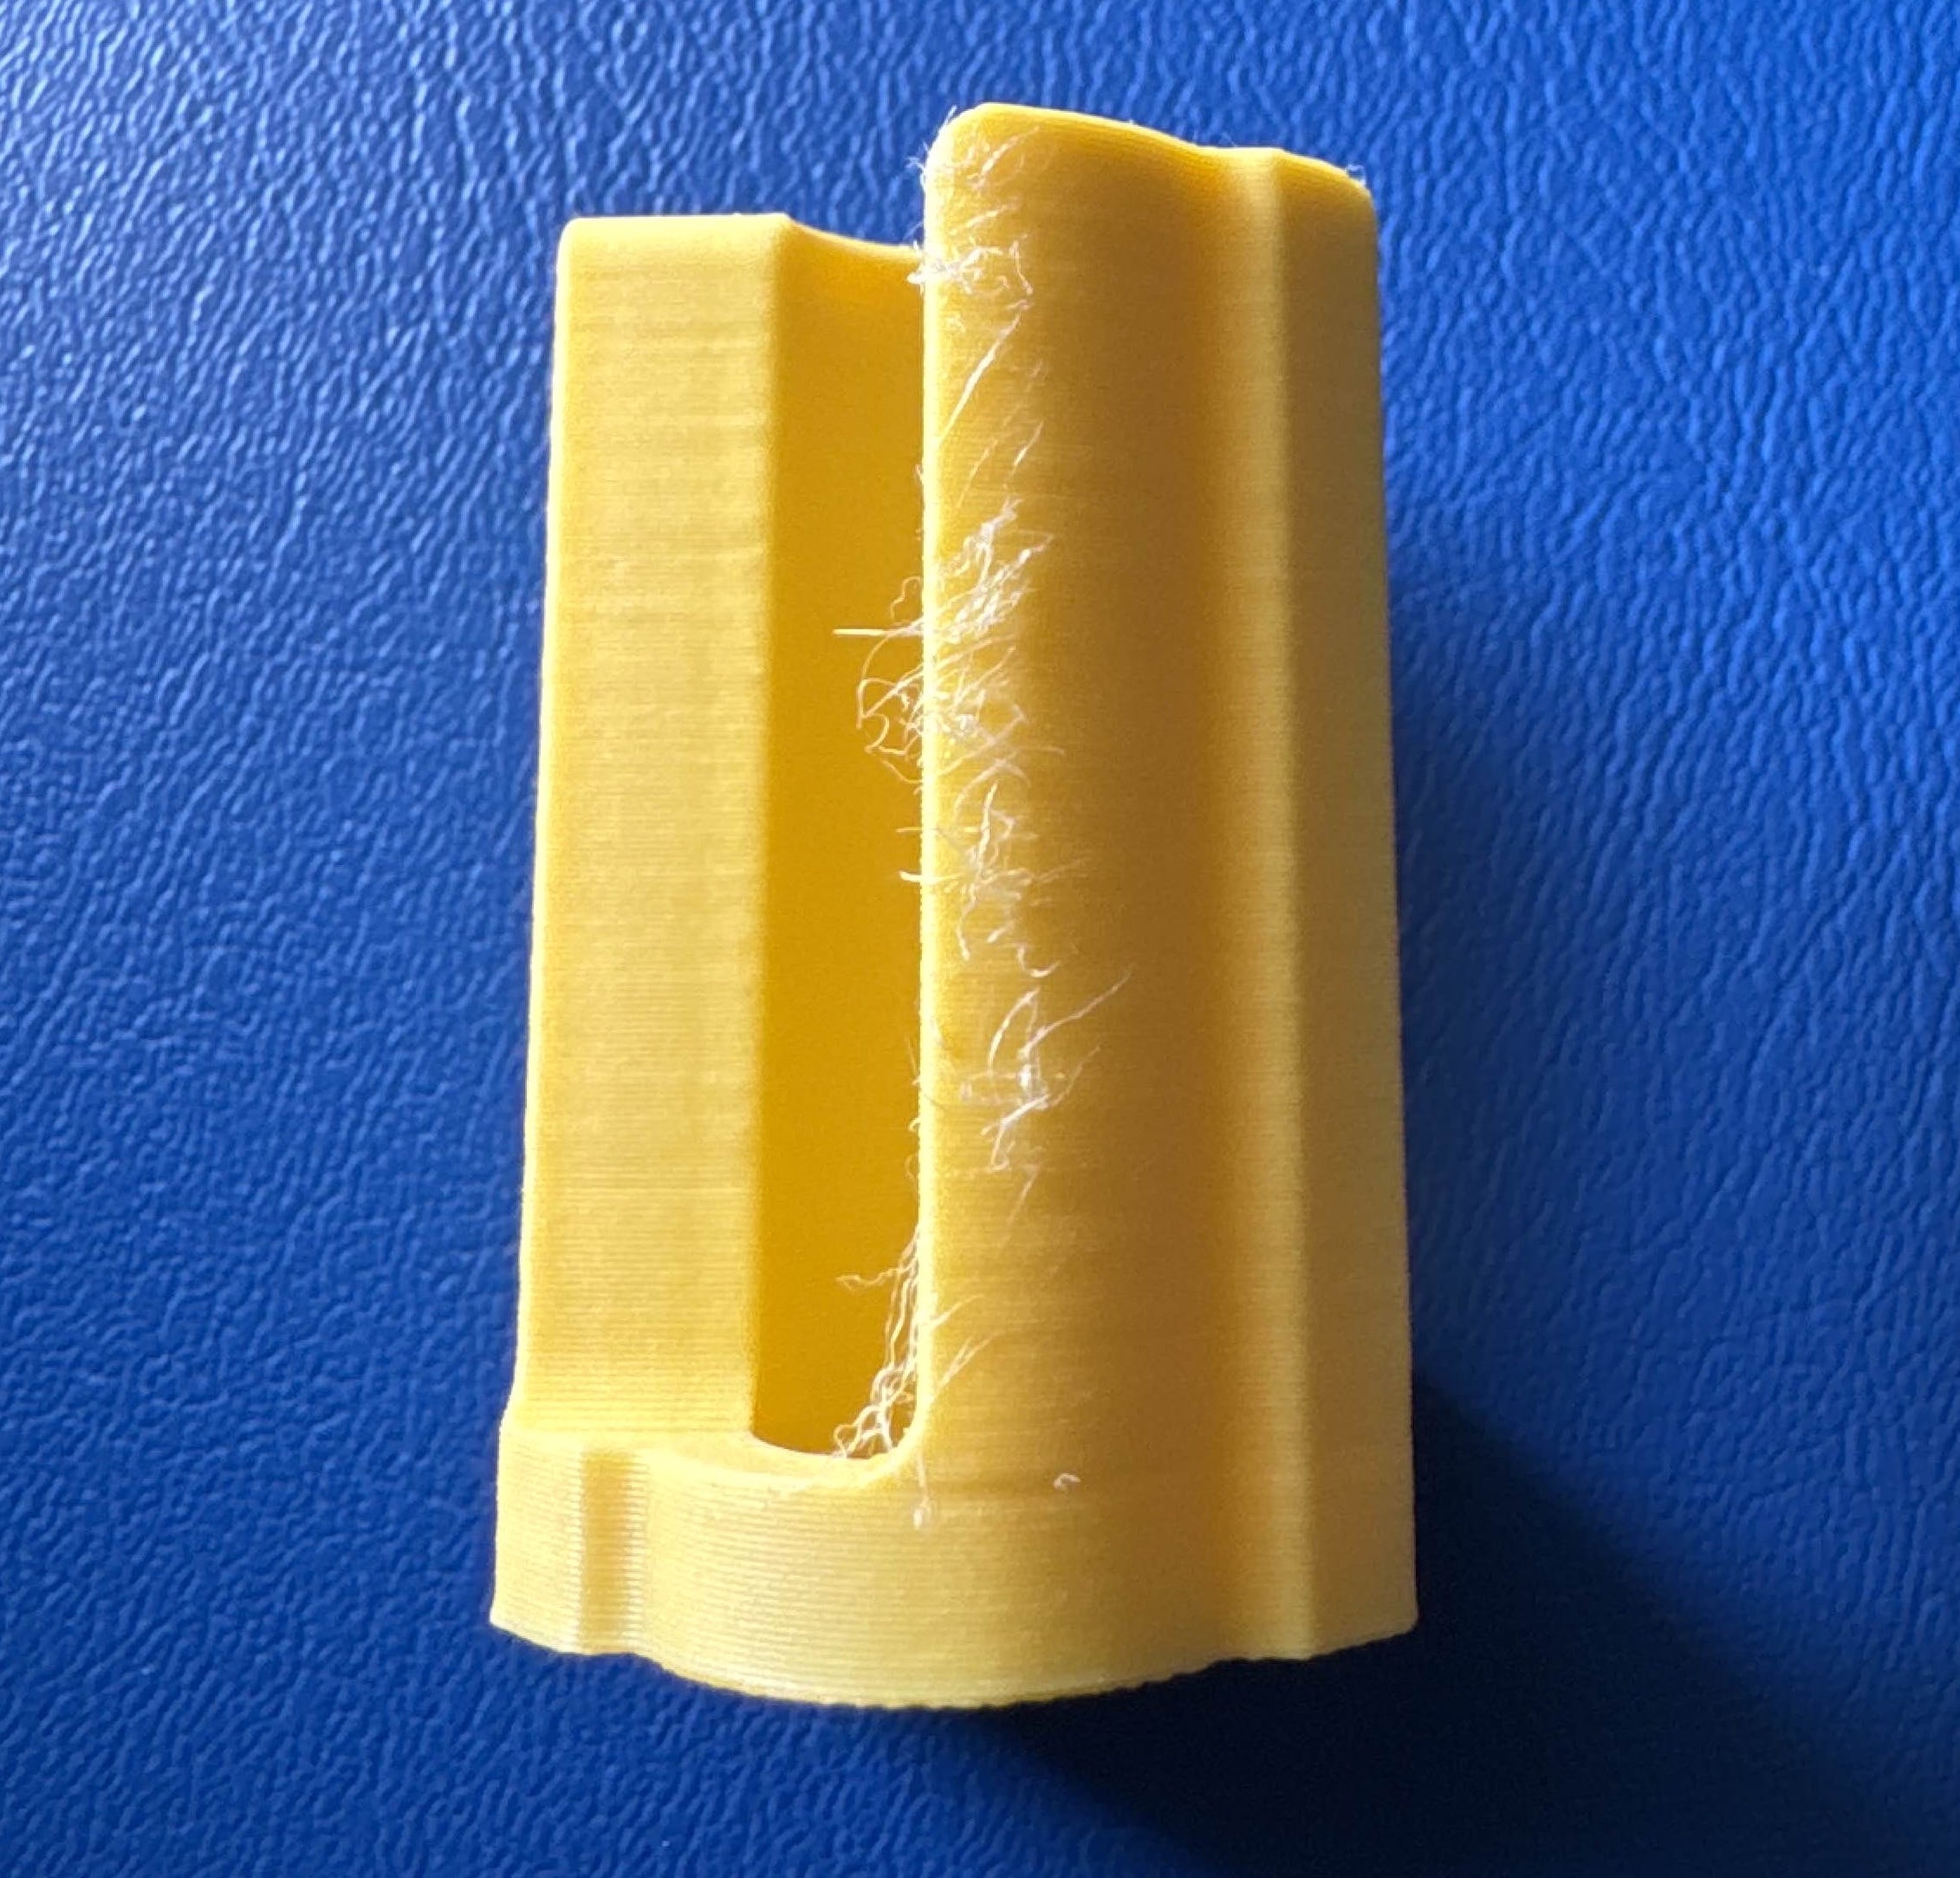
Stringing seen in this [LJ1] (user submitted by Akuna)
-
Elephant's Foot